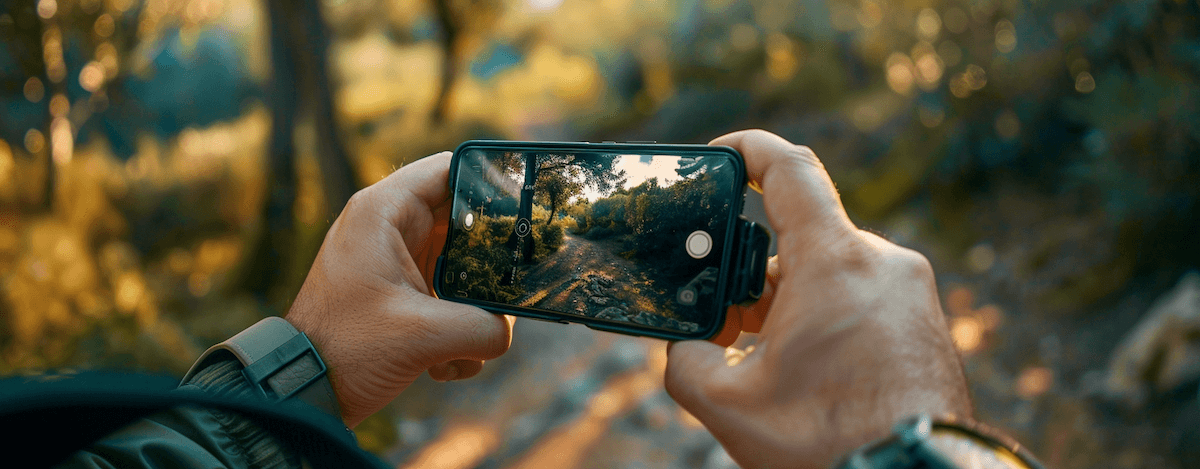
Creating cinematic videos with your iPhone has never been easier, thanks to the device's advanced camera features and settings. Whether you're a budding filmmaker, a content creator, or just someone who loves to capture life's moments in the most artistic way possible, knowing the right camera settings can elevate your video production to a whole new level. In this comprehensive guide, we'll explore the best iPhone camera settings for cinematic videos, ensuring your footage not only looks professional but also captivates your audience with its visual storytelling.
Before diving into the specific settings, it's essential to grasp what makes a video "cinematic." Cinematic videos are characterized by their ability to tell a story through compelling visuals, mimicking the look and feel of a movie. This involves aspects such as composition, movement, lighting, and, crucially, the right camera settings.

While the native Camera app on the iPhone offers some level of control, downloading a third-party app like FiLMiC Pro can unlock professional-grade settings. These apps allow you to manually adjust:
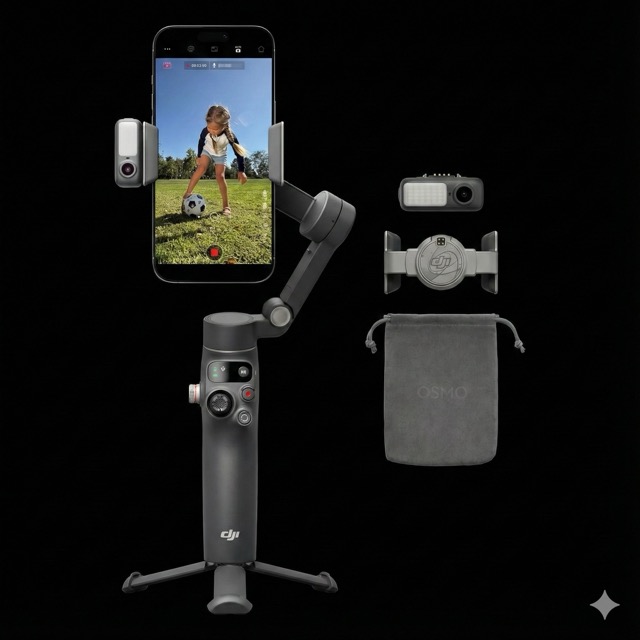
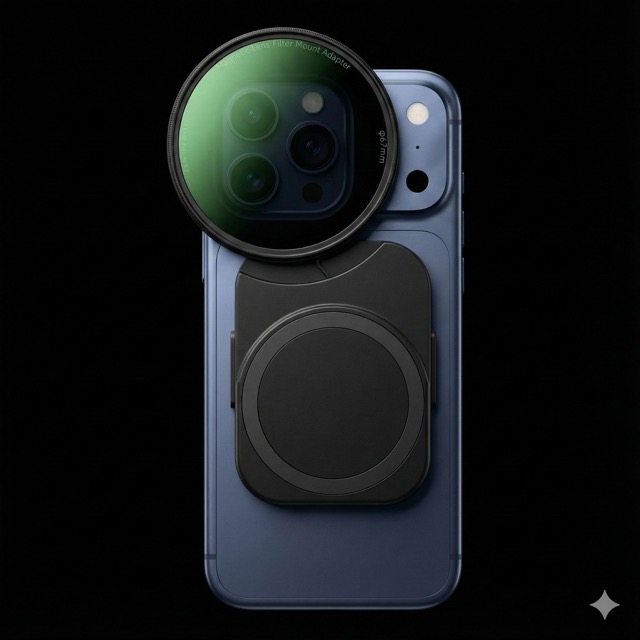
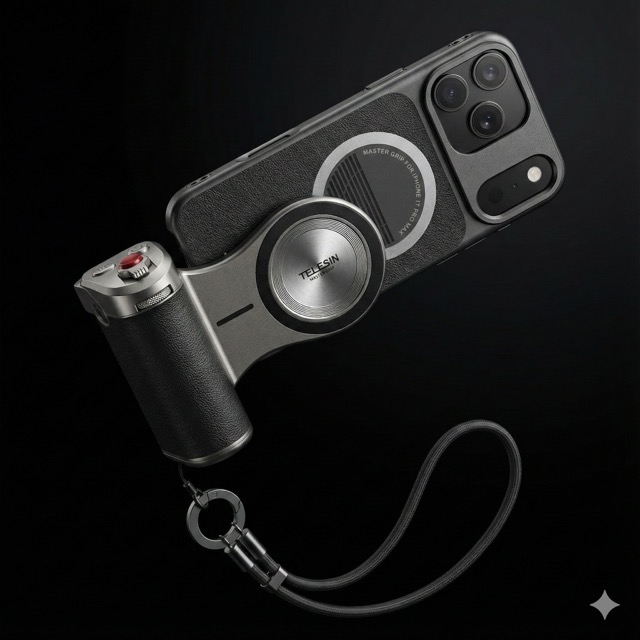
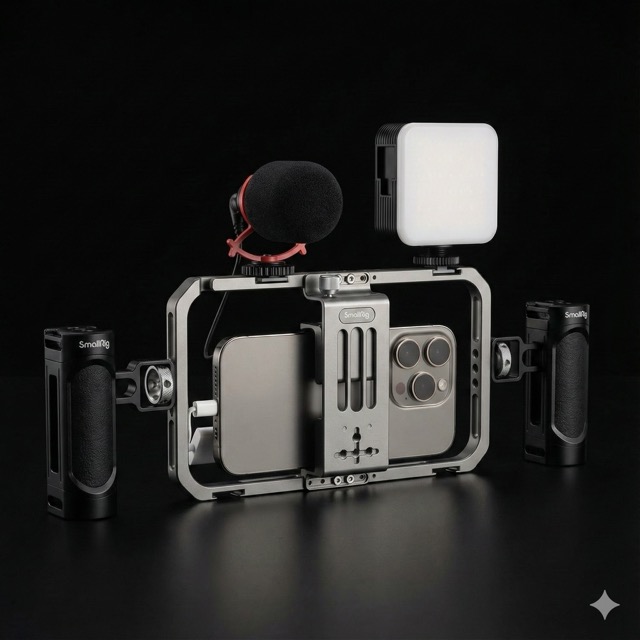
Best Gear for Your Cinematic iPhone Setup AMAZON AD
Exposure and ISO settings play a critical role in the visual quality of your footage. Exposure determines how much light hits the camera sensor, affecting the overall brightness of your video. ISO, on the other hand, amplifies the signal from the sensor to improve visibility in low-light conditions. However, a higher ISO can also introduce noise, leading to grainier footage.
With third-party apps, you can manually adjust the ISO to find the perfect balance between brightness and noise, ensuring your videos are clear and vibrant. For cinematic videos, aim for the lowest ISO possible while maintaining adequate exposure. This might require external lighting solutions in dimly lit environments.
The shutter speed is another vital setting for achieving a cinematic look. Following the 180-degree shutter rule — setting your shutter speed to double your frame rate — is essential for creating the natural motion blur associated with high-end cinema. For instance, if you're shooting at 24 FPS, a shutter speed of 1/48th of a second is ideal. This mimics the way the human eye perceives motion, lending a realistic and pleasing aesthetic to your footage.
Adjusting shutter speed manually can be challenging in varying lighting conditions, as it directly affects exposure. To counteract these changes, you may need to use ND (neutral density) filters, which reduce the amount of light entering the lens without affecting the color of the light. This allows you to maintain your desired shutter speed across different lighting scenarios.
Manual focus control is a powerful tool for directing viewer attention and enhancing the narrative impact of your scenes. By adjusting focus manually, you can ensure that your subject remains sharp and clear, even in complex or rapidly changing environments. This is particularly useful for creating depth in your shots, with the subject in sharp focus against a softly blurred background, known as bokeh.
Focus pulling, a technique where focus shifts from one subject to another within a shot, can add dramatic tension and visual interest. Third-party apps provide the precision required for such techniques, offering smooth and controlled focus adjustments.
White balance adjustment is crucial for maintaining color accuracy and consistency across your footage. Different lighting conditions can cast various color hues on your scene, affecting the mood and realism of your video. By manually adjusting the white balance, you can ensure that whites appear white and colors are true to life, regardless of the lighting situation.
Third-party apps offer presets for different lighting conditions (e.g., sunny, cloudy, tungsten) as well as the ability to set custom white balance based on specific needs. This level of control is invaluable for matching shots taken at different times or under varying lighting conditions, ensuring a cohesive look throughout your video.
Beyond these fundamental adjustments, third-party apps also provide access to advanced features and settings, including:
By harnessing the power of manual controls and advanced settings offered by third-party apps, filmmakers and content creators can push the boundaries of iPhone videography. The key is to experiment and practice with these settings, discovering the combinations that best suit your creative vision and storytelling style.
The post-production process is crucial for achieving a cinematic feel. Use editing apps like Adobe Premiere Rush or LumaFusion to cut, arrange, and enhance your footage. Color grading, in particular, can dramatically change the mood and style of your video, allowing you to create a unique visual signature.

Capturing cinematic videos on your iPhone is all about understanding and manipulating camera settings to your advantage. By focusing on aspects like frame rate, resolution, lighting, and advanced manual controls, you can produce stunning, movie-like footage that stands out. Remember, the key to cinematic video is not just in the technical details but in how you use these tools to tell a story that resonates with your audience.
Continue for more detailed tips on achieving cinematic quality in your iPhone videos, including practical examples and advanced techniques for specific shooting scenarios.
CINEMA LUTS PRO+
Turn your footage into cinematic masterpieces with our 1-Click solution LUTs. Over 30 handcrafted presets are waiting for you!
© cinema-luts.com
Imprint - Privacy Policy - Cookies - EAA - Blog